
ソースのバージョン管理ソフトであるGitをWindows10にインストールする手順についてまとめました。
手順1)Gitをダウンロードする
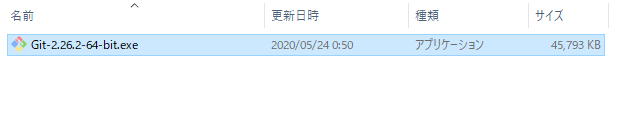
Downloadボタンを押下します。

自動的にダウンロードが始まりますが、始まらない場合は『64-bit Git forWindows setup』を押下してください。(32bitPCの場合は32bitをお選びください)

手順2)Gitをインストールする
ダウンロードしたインストーラーのexeを実行します。
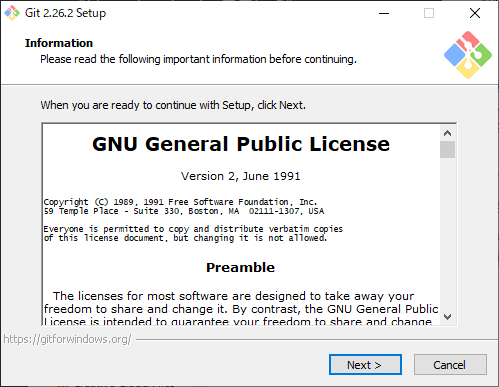
『Next』を押下します。
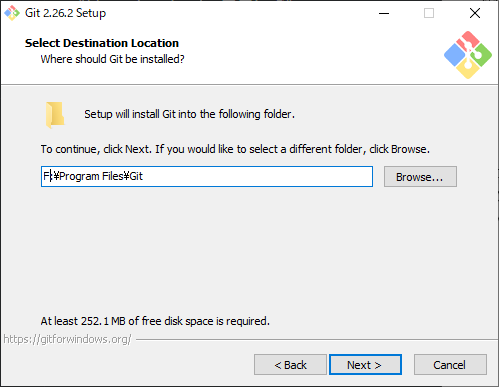
インストール先を選び『Nexet』を押下します。
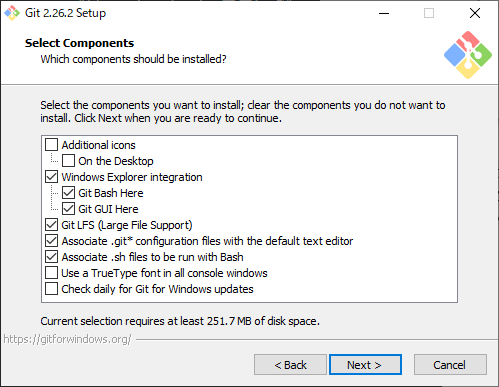
基本初期に表示されている下記の項目にチェックがついていれば問題ありません。
チェックが付いていることを確認し『Next』を押下します。
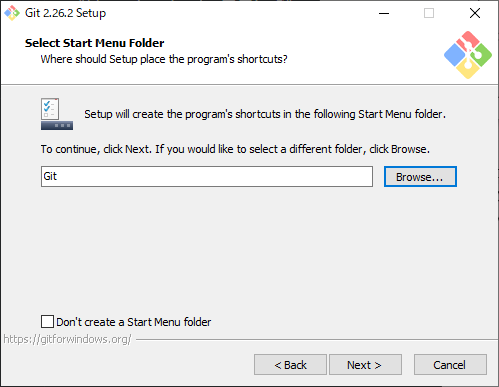
スタートメニューのフォルダーを選択します。
基本初期設定で問題ありませんので『Next』を押下します。
(変更した倍はBrowseから選択してください)
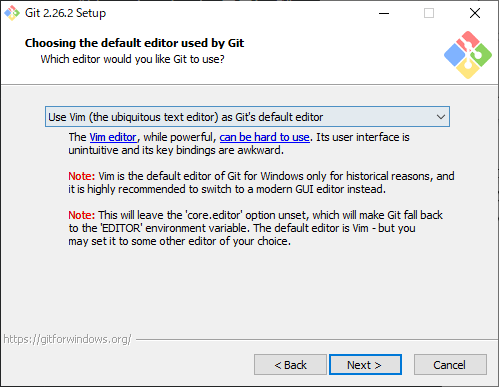
コメントのを記載する際のエディタプログラムを指定します。
基本は下記の設定で問題ありませんので『Next』を押下します。
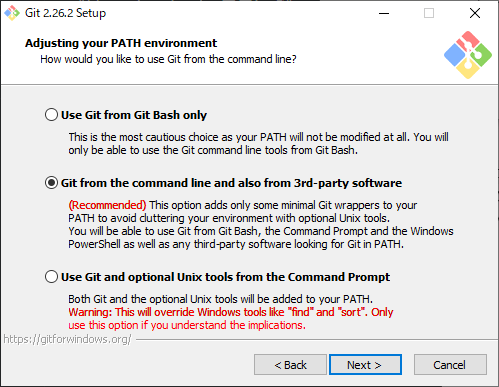
環境変数とPATHの設定をします。
『Git from the command line and also from 3rd-party software』が
選ばれていることを確認し『Next』を押下します。
HTTPS通信の設定をします。
『Use the OpenSSL library』が
選ばれていることを確認し『Next』を押下します。

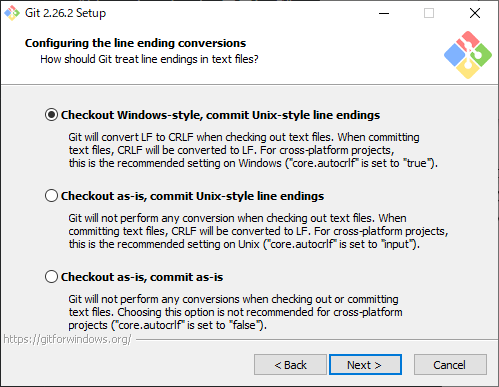
改行コードの設定をします。
『Checkout Windows-style, commit Unix-style endings』が
選ばれていることを確認し『Next』を押下します。
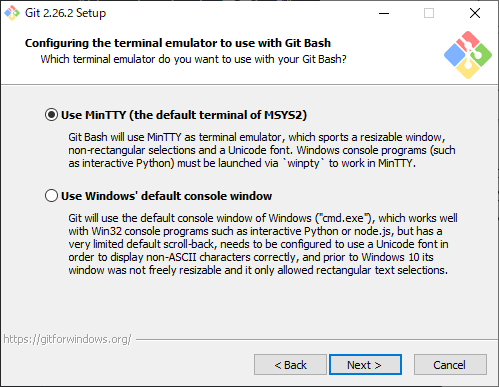
Git Bashで使用するターミナルエミュレータの設定をします。
『Use MinTTY (the default terminal of MSYS2)』が
選ばれていることを確認し『Next』を押下します。
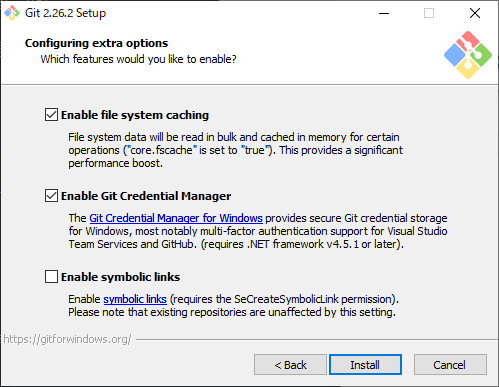
追加オプションの設定をします。
『Enable file system caching』と
『Enable Git Credential Manager』が
選ばれていることを確認し『Install』を押下します。
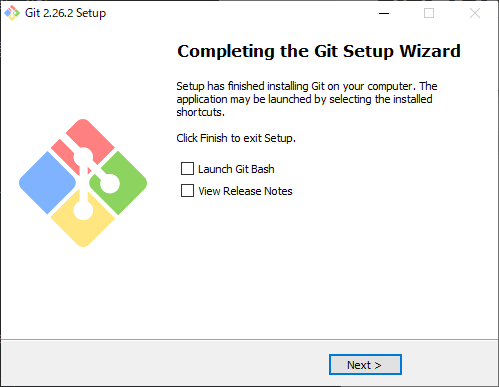
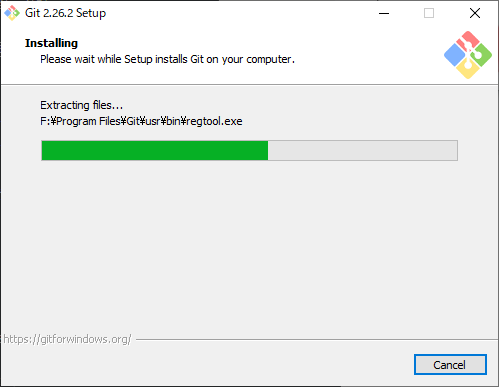
インストールが開始されます。
インストール完了です。